(When you’ve first signed up with RepCheckup, it can seem a bit overwhelming to get everything started. However, setting up your organization to properly categorize your business accounts is simple.
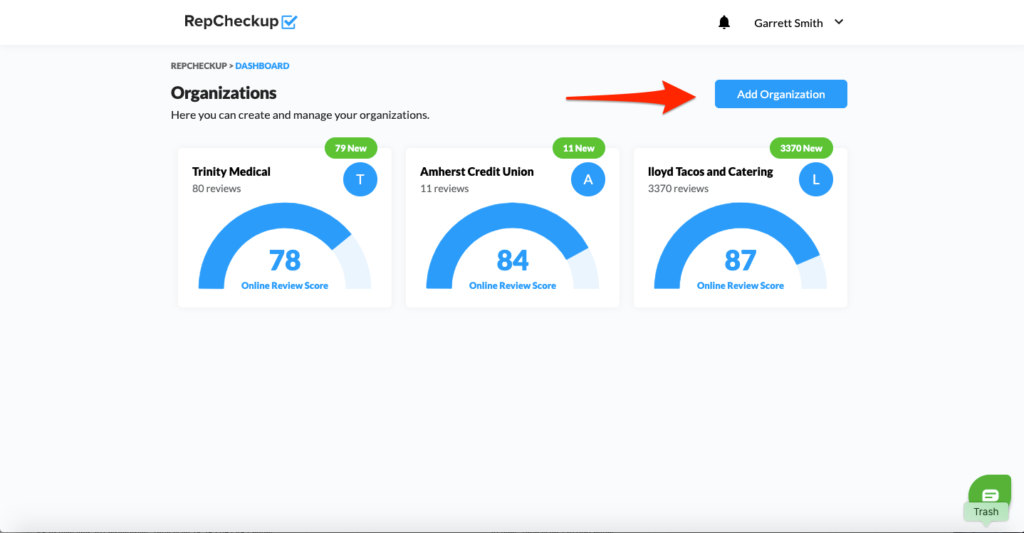
Once you log into your RepCheckup account, the first page that you’ll encounter is the “Organizations” page.
- Select the “Add Organization” button
- Enter the organization name you’d like to use
(Remember that you can add multiple locations for an organization, so you can stick to just using the organization’s name here._ - Click the “Create” button
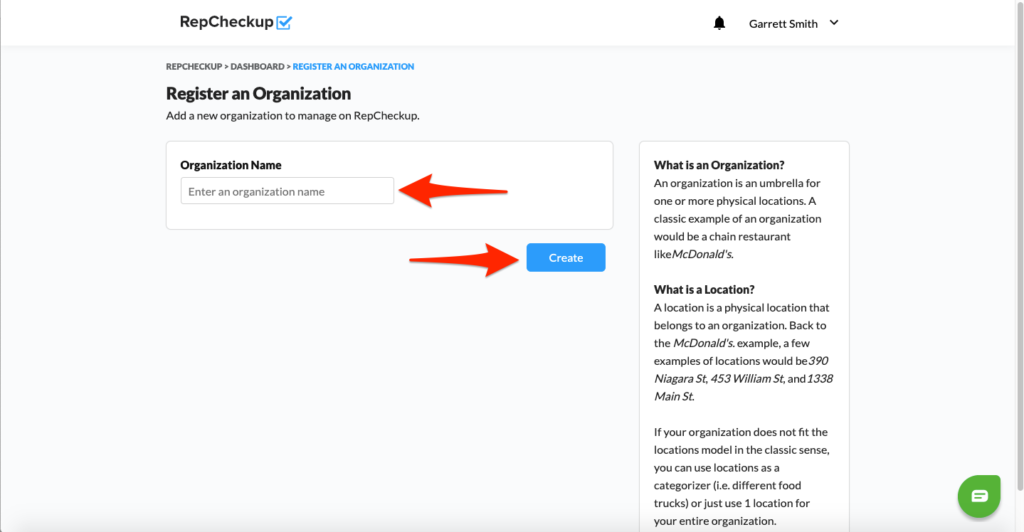
Congrats, you’re all set with your first official RepCheckup organization.